To install and start using Qube!, follow these steps
Before You Begin
- The installer is designed to be run on a machine with a working internet connection, and we suggest saving the downloaded components to a network drive.
- You must have administration privileges to install the software.
- For Windows users, you may want to right-click > "Run as Administrator".
- For Linux users, you must run as root or a sudoer.
- OS X users will be prompted to enter an admin password before installation begins.
- Once components have been downloaded, the installer can be run again on other machines without accessing the internet by pointing it to the download location used by the previous install session.
1. Download the Install Wizard
2. Launch the Install Wizard
3. Install the Supervisor
4. Install a Worker / Client
5. Submit Test Jobs
That's it! After you've got this far, you can submit jobs for hero applications such as Maya, 3dsMax, VRay, and many others.
Or you can continue with Qube! administration tasks:
Installing Licenses
Adding Additional Workers
Adding Additional Clients
Launch the Install Wizard
Windows
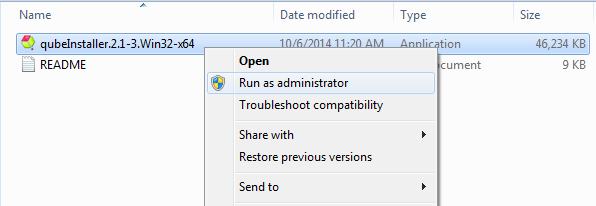
Extract the contents of the installer zip file. Go into the folder created, right mouse click on the installer file, and run as administrator.
OS X
Double-click on the dmg file that you downloaded. You should see this:
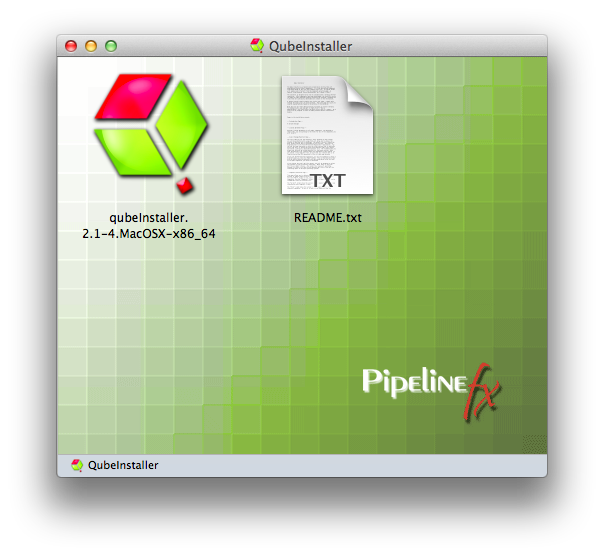
Then double-click on the qubeInstaller icon.
Linux
For Linux, the steps are:
$ cd /path/to/downloaded/installer
$ tar xvzf qubeInstaller.CentOS_6.5.x86_64.tgz             # Note: of course the file name may differ depending on your Linux distribution
$ cd qubeInstaller-2.1-2.CentOS_6.5.x86                    # move into the directory that was just created
$ sudo ./qubeInstaller.2.1-2.CentOS_6.5                    # run the installer with sudo or as root
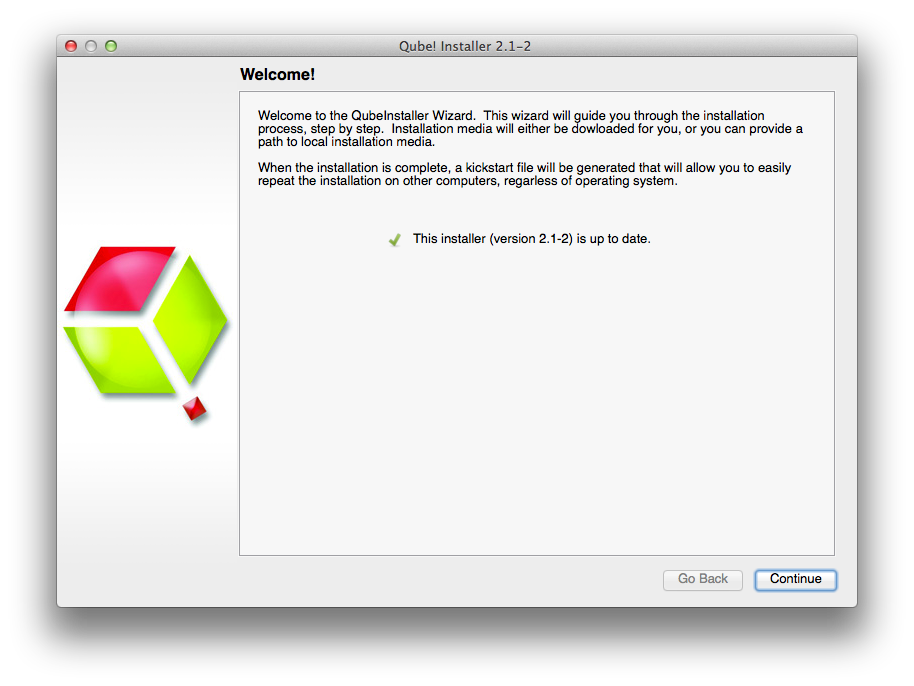
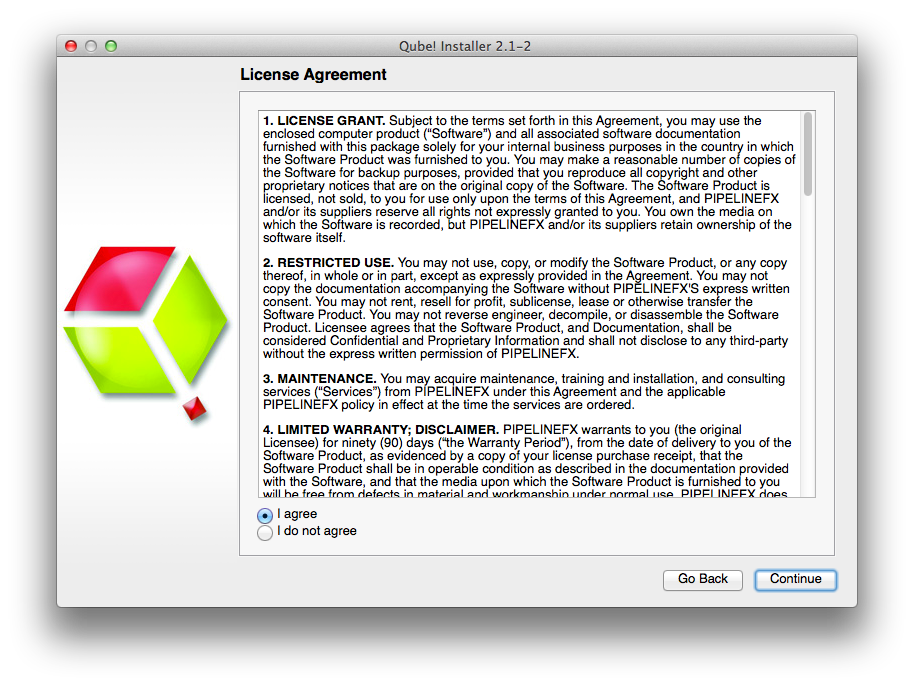
In all cases, you will now see the opening screen, followed by a license agreement, which you should read and accept before continuing.
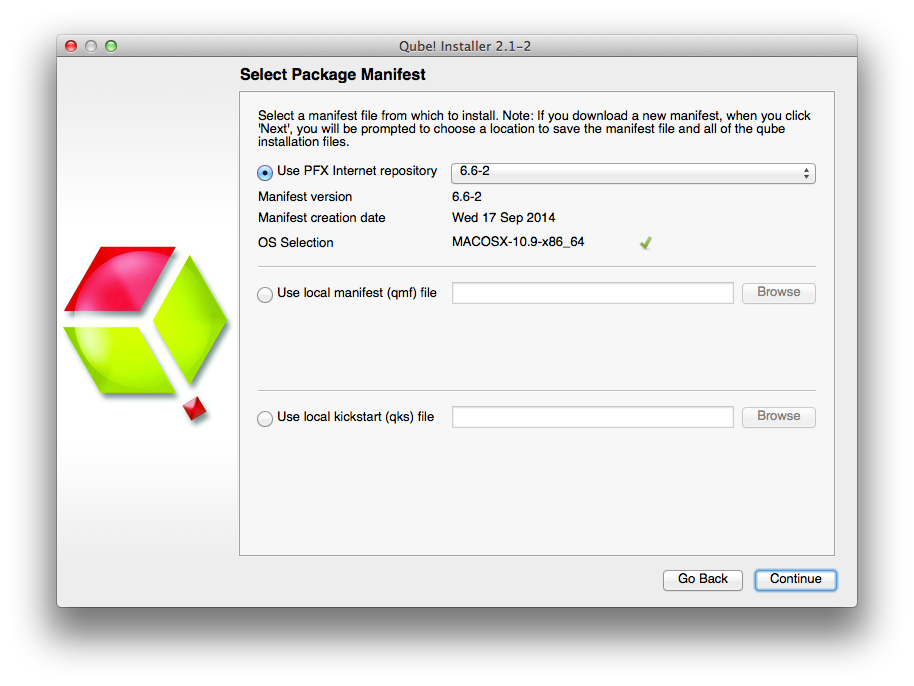
You will then see a screen which is asking where the packages to be installed will come from. The default is to download them from the PipelineFX repository, and you should leave this screen at its default and hit continue. You will then be asked for a location to download the software to. You can choose anywhere, but in general you will want these packages stored in a location that is visible to all machines on the network. For simple installs or evaluations, you can just choose your local Downloads directory, as shown here.

At this point you are ready to install one of the Qube! components. If this is your first install, keep reading and install a Supervisor. Otherwise, skip that and move to installing a Worker or Client, below
Install the Supervisor
The Supervisor controls and monitors the jobs that the Clients send to the Workers. There should be only one Supervisor on your network. For preliminary evaluation purposes, the Supervisor can be almost any machine, but for production use you should refer to the Supervisor guidelines on the Qube Requirements page.
Follow the installer instructions until you get to the page to choose what to install. Click on "Supervisor" as shown here:
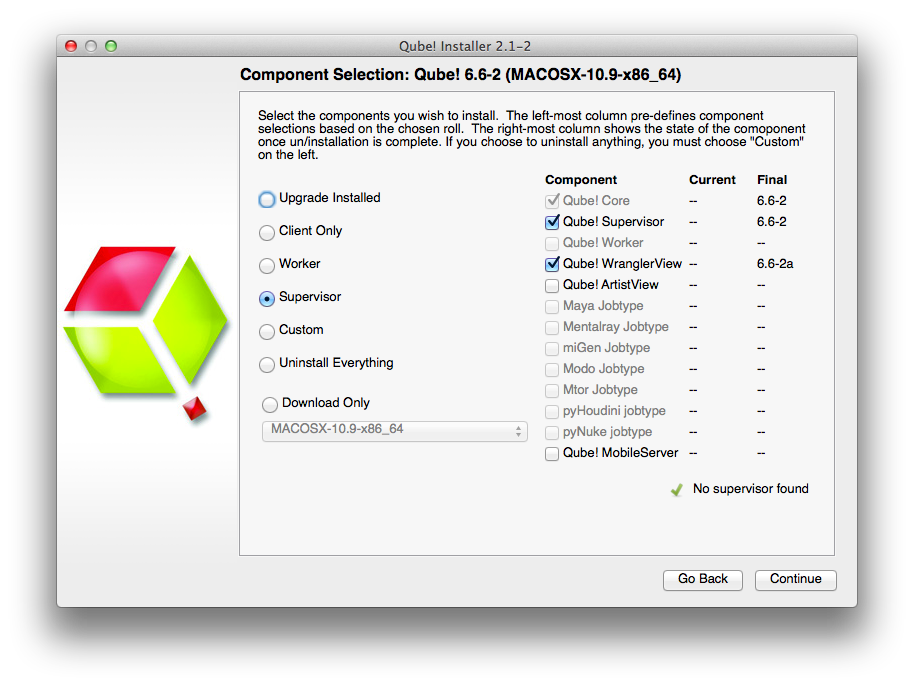
The install wizard will look to make sure there isn't already a supervisor installed on this network / subnet, and then it will allow you to click through to install the supervisor. You should end up with this screen:
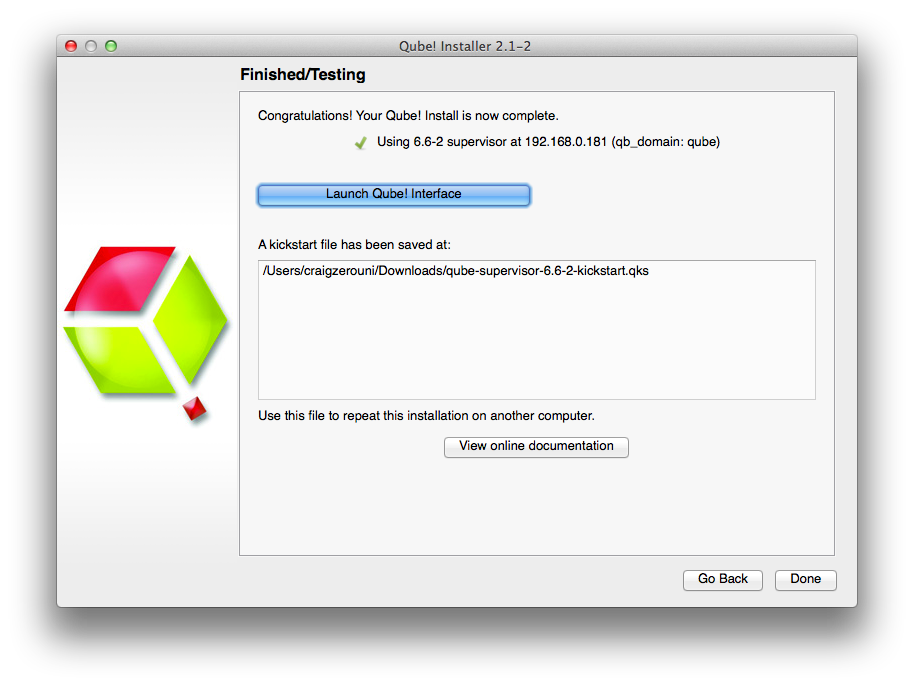
You can launch the Qube GUI from here if you like, but let's keep going and finish the install. So click through to the end and exit the install wizard. But continue following the instructions on this page.
Install a Worker / Client
What's the difference? A Worker is going to render frames or run simulations or do whatever tasks you want to submit. You want one of those on every machine that you expect to be able to pick up and execute a task.
A Client is a machine or interface that a person submits jobs from. Installing a Client really just means installing the User UI, which is a simpler version of the Wrangler UI. In that sense, it is optional - users can also submit from, and monitor their jobs from, the Wrangler UI.
Users desktop machines tend to be both Workers and Clients, so in that case you would install both. In a larger installation, there would be a lot of Workers and relatively fewer Clients. There is more detail on the Terminology page.
To do the install, we are assuming you already have a supervisor installed on the network/subnet. You can install the Worker and/or Client on a different computer, or if you want to do a quick evaluation, on the same one you just used for the supervisor. If it is a different computer, it can have a different OS from the supervisor - but if it does, you will need to go back to Step 1 and download the appropriate installer for the Worker or Client OS.
Once you have that, run the installer again, and click through to the choosing screen. This time, select Worker:

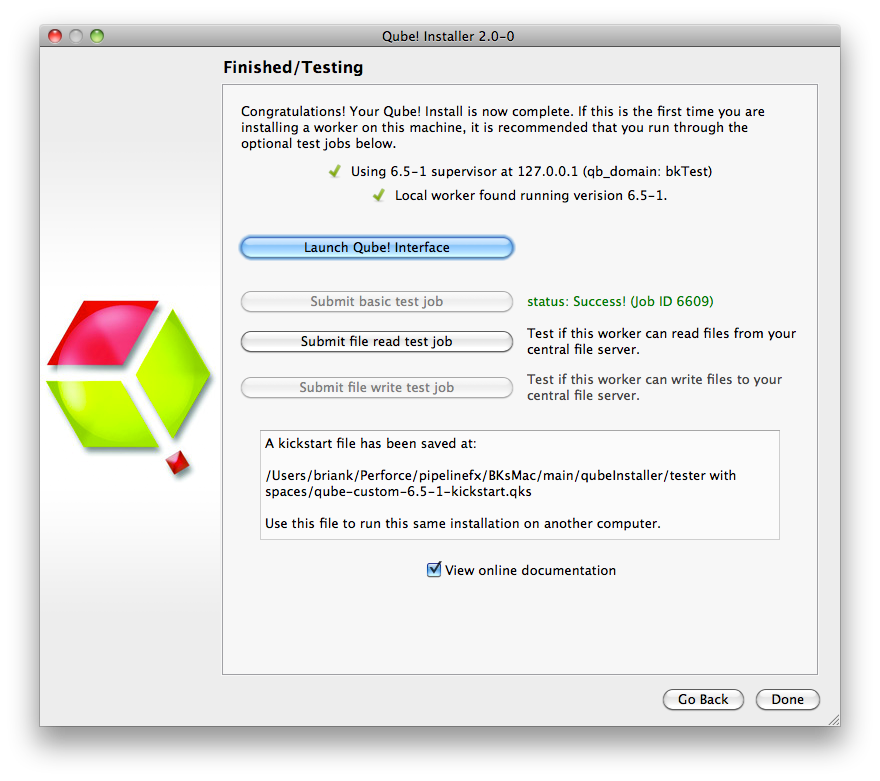
When this completes, you will see buttons allowing you to submit some test jobs. We'll do that in the next section. So keep reading...
Submit Test Jobs
We assume you have a dialogue box on your screen similar to the above. To verify that the Qube! supervisor is running and sees this worker (and vice versa), click on "Submit basic test job". You should see it go to "pending" and then "running" and finally "Success!"
Now click on "Submit file read test job". This will pop up a dialogue box. You should choose a file that is accessible to both Worker and Supervisor, typically on a mounted network drive. If you are testing Qube! such that the Worker and the Supervisor are on the same machine, then you can just choose a file in, say, the Downloads directory.
You should then seen the same "pending", "running" and "success!" messages.
At this point, go ahead and launch the Qube! GUI, which you can do from the install wizard's dialogue box, or from the desktop icon. You will see this:

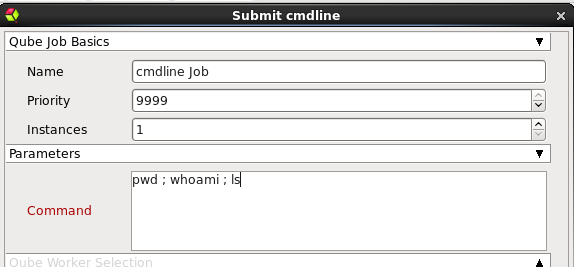
Let's use this to launch a quick commandline job, just to verify everything is working as expected. In Submit, choose Cmdline Job.
You'll get this UI. Fill in the command with something like the command shown (Mac & Linux):
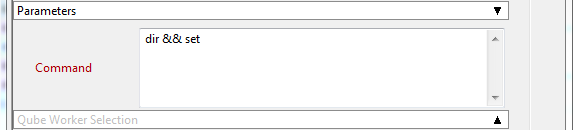
For Windows, the commands could be this:
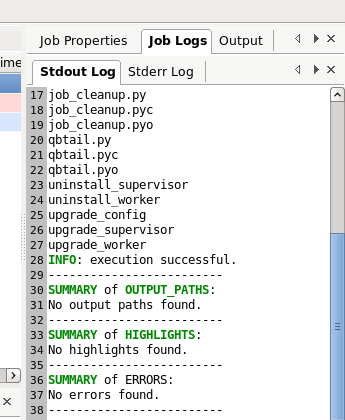
Then click on Submit and refresh the Wrangler view. You should see your job pick up, run and complete. The output from the commands you typed in the box will be in the right pane, under Job Logs / Stdout Log. Notice that the job runs as the user you are logged in as, while the test jobs you submitted from the installer were run as root (except on Windows, where they will still run as the person using the installer).
At this point, your supervisor and worker are up and going. You can install more workers and/or clients by using the installer or by using the quickstart files. You can find help with submitting specific kinds of jobs, for example Maya or After Effects, on the I Want To... page.
Licensing
Right now Qube! is running 2 evaluation licenses (these are Designer licenses - see this page for an explanation of license types). You can use these licenses to evaluate Qube! indefinitely, but if you want to run more Workers you will need to purchase licenses. Instructions for installing these are on this page.