Step by step instructions for submitting Cinema4D jobs with Qube!
Install the Qube! Submission UI into Cinema4D
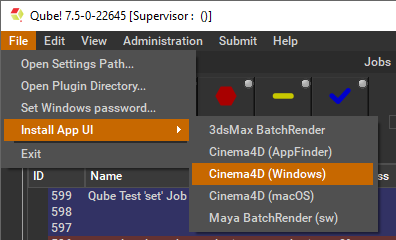
If you want the submission menu inside of Cinema4D (recommended) then install the InApp plugins via the QubeUI application as shown here. To do this, launch the QubeUI:
- Windows: Double-click the color desktop icon
- macOS: Find the color icon in Applications/pfx/qubeui and double-click on it
Then navigate to the File menu, choose "Install App UI" and choose the Cinema4D (Windows) option. This will install the Cinema4d (Windows) submission UI only. You will need to do this on every workstation that you intend to submit Cinema jobs from.
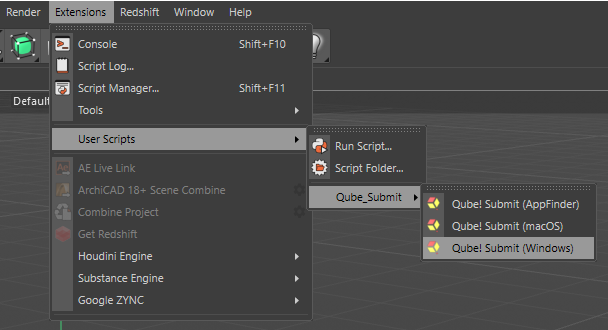
Once installed you should be able to locate the "Qube!" menu in Cinema4D's menu bar via Extensions -> User Scripts -> Qube_Submit -> Qube! Submit (Windows).
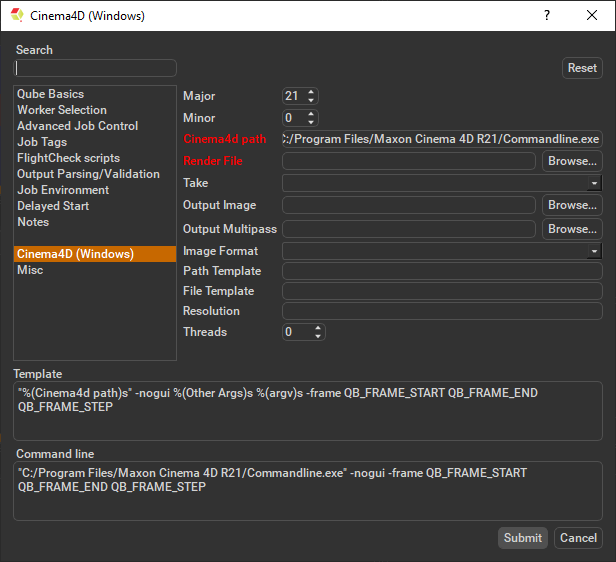
Ensure sections marked in red have the correct details.
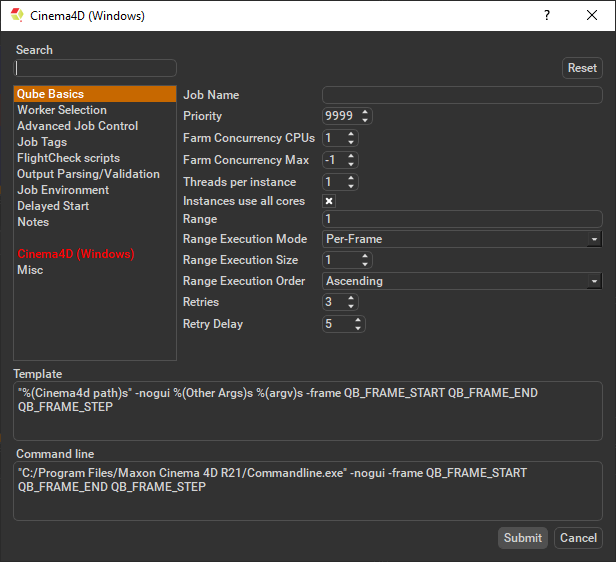
Click 'Submit'
For further details on the submission UI see below.

Job Submission Details
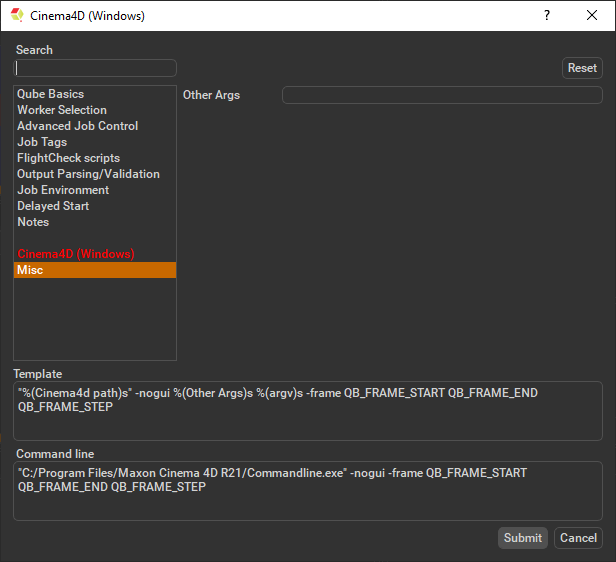
Parameters Specific to Cinema4d (Windows)