...
Build the new supervisor up, install MySQL if it's a Linux host, then install the same version ofQube that you are running on the old supervisor, then stop the supervisor daemon on the new supervisor. Now the new supervisor is ready to have the databases copied over. The trick is to build a mysqldump command that will only dump the *qube databases, then send them over the network to the new server.
Disable the Data Warehouse collectors on both the old and new supervisors
This needs to be done at least 15 minutes before starting, as some of the tasks currently running on the old supervisor can take some time to finish on warehouses that contain several years' data.
Windows:
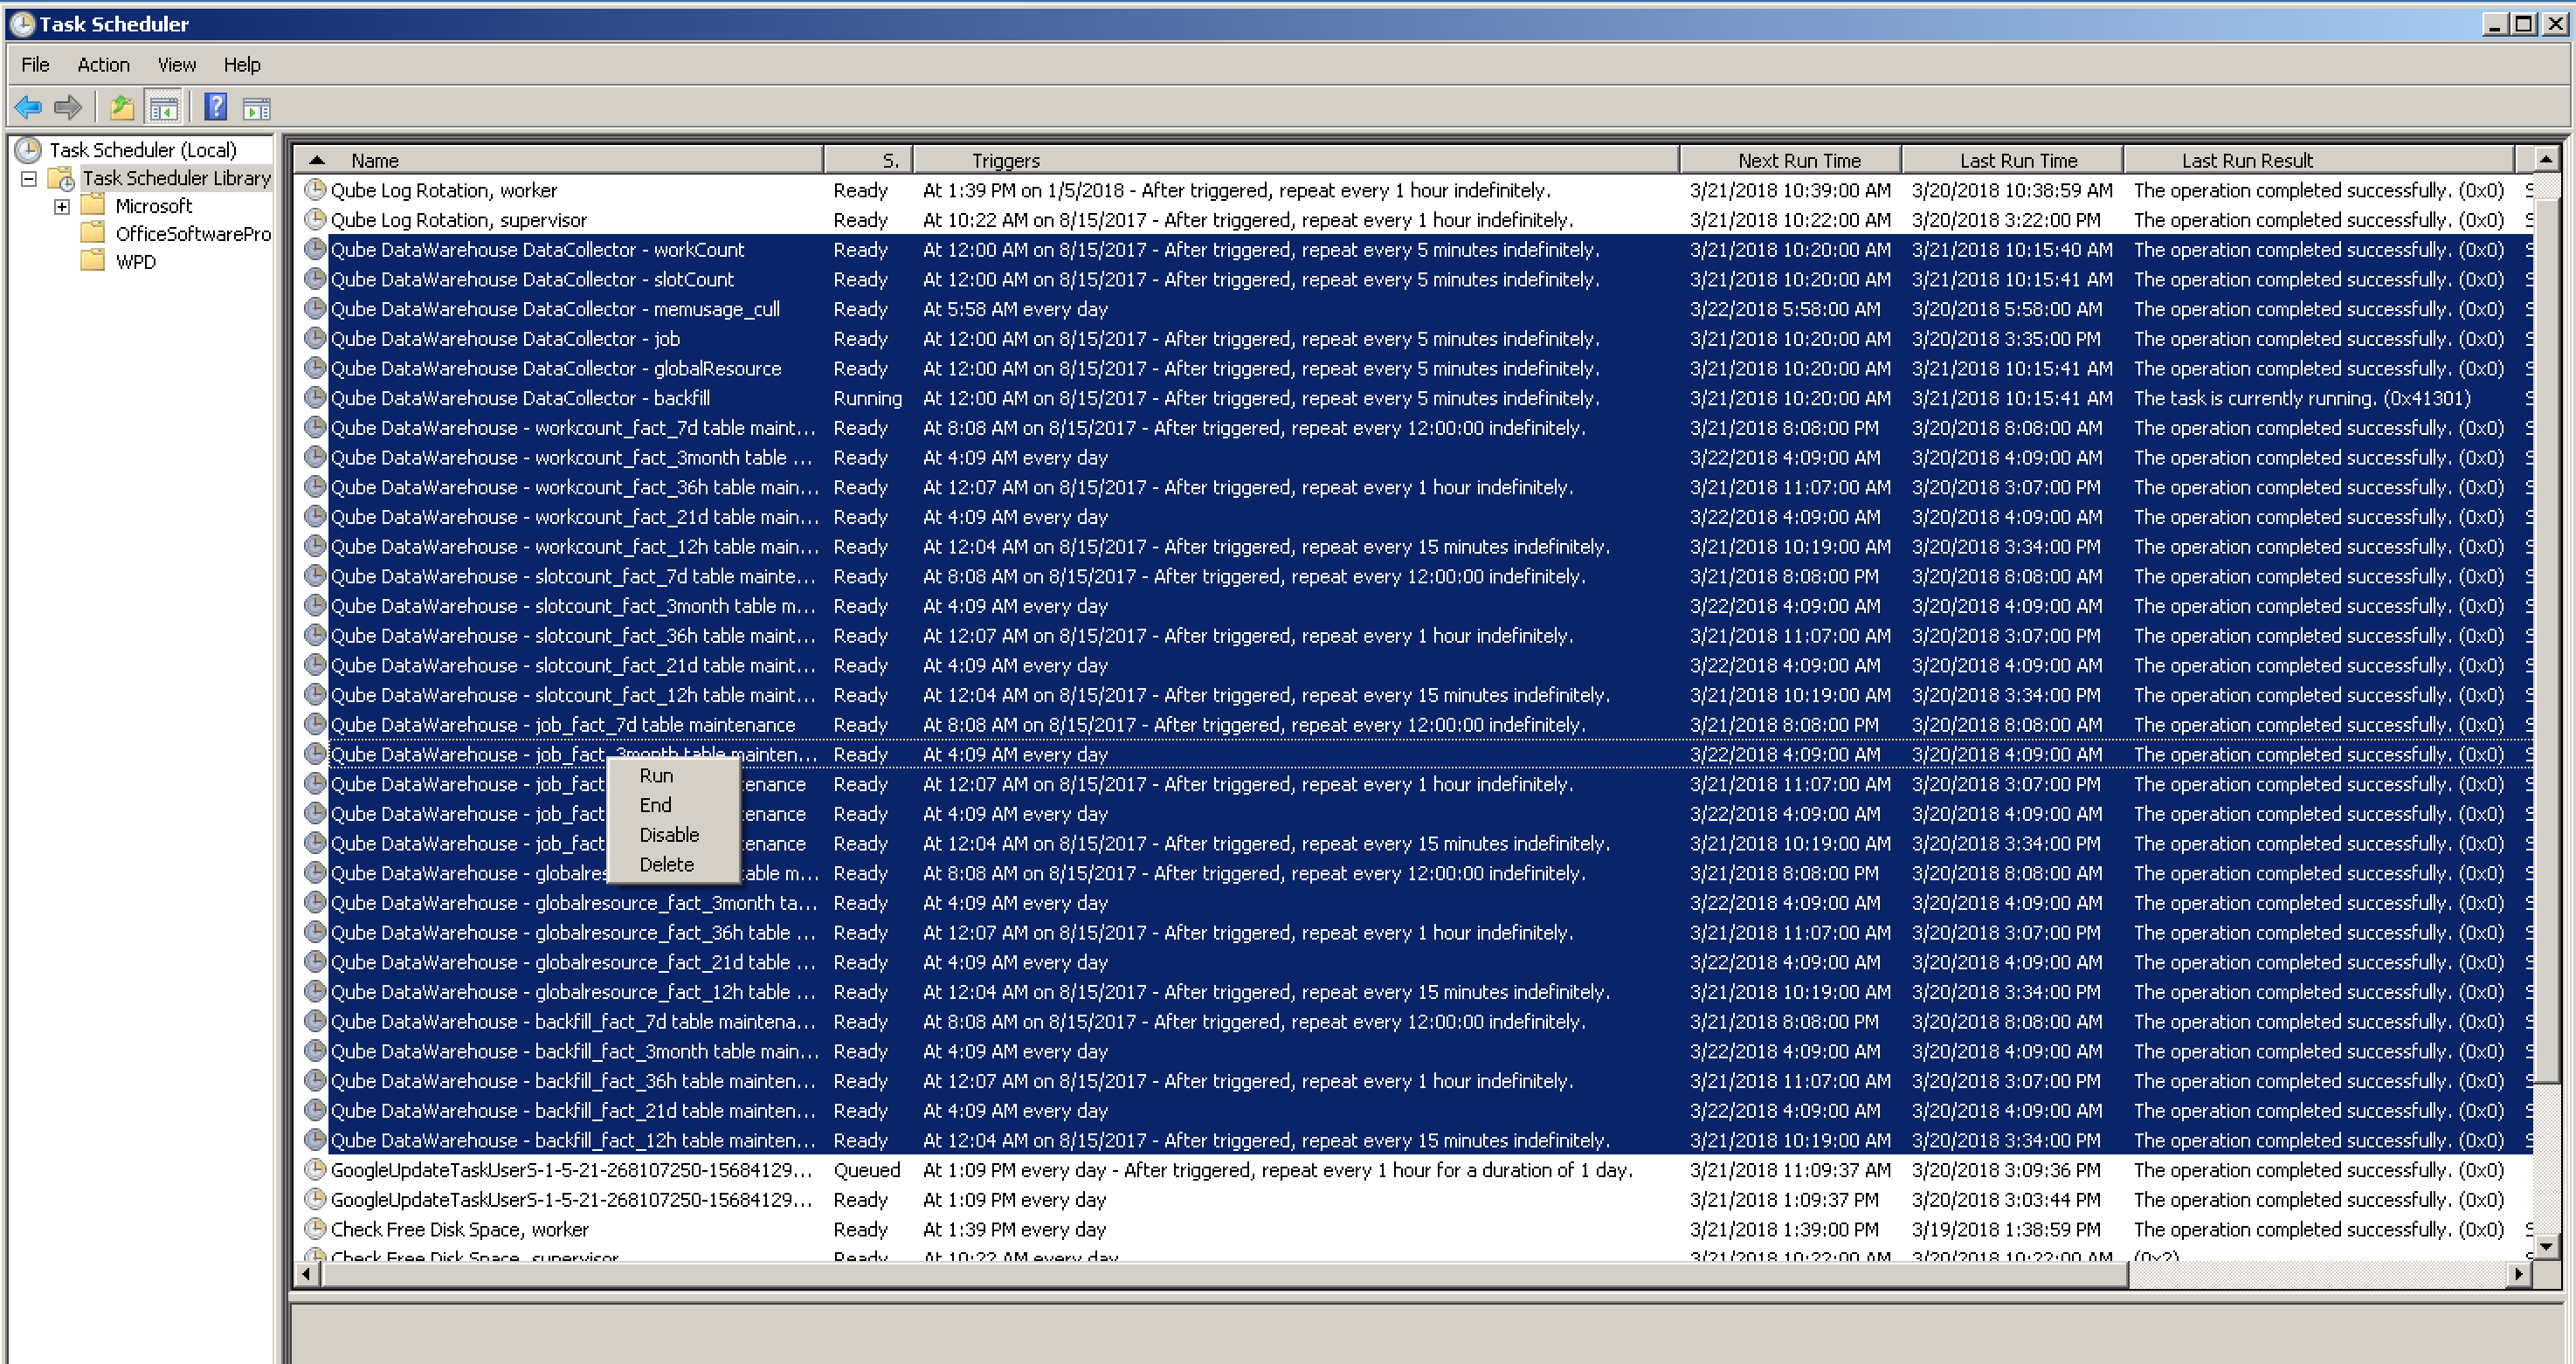
You'll need to temporarily disable all the scheduled tasks that start with the name Qube DataWarehouse Data Collector on both the old supervisor (so that they're not running while you dump the databases), and on the new supervisor (so that they're not running during the restore). You can leave them disabled on the old supervisor, since you're shutting it down anyways, but remember to re-enable them on the new supervisor after everything's back up and running.
Linux:
Comment out all the tasks in the cron file /etc/cron.d/com.pipelinefx.DataWarehouse.cron on both supervisors.
OS X:
Unload each of the launchd plists that run the data warehouse collectors
| No Format |
|---|
sudo launchctl unload /Library/LaunchDaemons/com.pipelinefx.DataWarehouse.12h.plist
sudo launchctl unload /Library/LaunchDaemons/com.pipelinefx.DataWarehouse.15m.plist
sudo launchctl unload /Library/LaunchDaemons/com.pipelinefx.DataWarehouse.1d.plist
sudo launchctl unload /Library/LaunchDaemons/com.pipelinefx.DataWarehouse.1h.plist
sudo launchctl unload /Library/LaunchDaemons/com.pipelinefx.DataWarehouse.5m.plist |
Grant access to the root user from the old server.
On the new server, at the mysql> prompt:
| No Format |
|---|
GRANT ALL PRIVILEGES ON *.* TO 'root'@'192.168.1.1'; |
(replace the ip address in the command with the ip address of your old server)
Test the access from the old supervisor:
| No Format |
|---|
mysql -u root -h <newHostName> -B -e "SELECT USER()" |
It should return something like:
| No Format |
|---|
USER() root@192.168.1.1 |
Now that you can access the MySQL server on the new supervisor from the MySQL server on the old supervisor, it's time to push the dump across from the old supervisor to the new one.
...
You need to build a list of all the *qube databases. The simplest way is to 'cd' into the mysql data directory and list them with "ls"
| No Format |
|---|
cd /usr/local/mysql/data |
| No Format |
|---|
\ls -d *qube pfx_dw pfx_stats 1qube 2qube 3qube 4qube 5qube 6qube 7qube 8qube pfx_dw pfx_stats qube |
Note the use of the leading backslash on the 'ls' command. It's to skip any aliases or formatting operators that you usually pass to 'ls', to avoid having slahes on the end of the directory names. The output from the 'ls' command should look like the above.
...
The mysqldump should take quite a while to finish, and will print no output. A way to check if it's doing the right thing while it's running is to login to the mysql server on linux machine, and run:
| No Format |
|---|
SHOW DATABASES LIKE '%qube'; |
You should start to see some qube databases with numbers in front of them, like 12qube. Run the command every minute or so, and the list of databases should be growing. Once the mysqldump command has finished on the old supervisor, you'll need to do a bit of maintenance on the new tables on the new supervisor.
...